
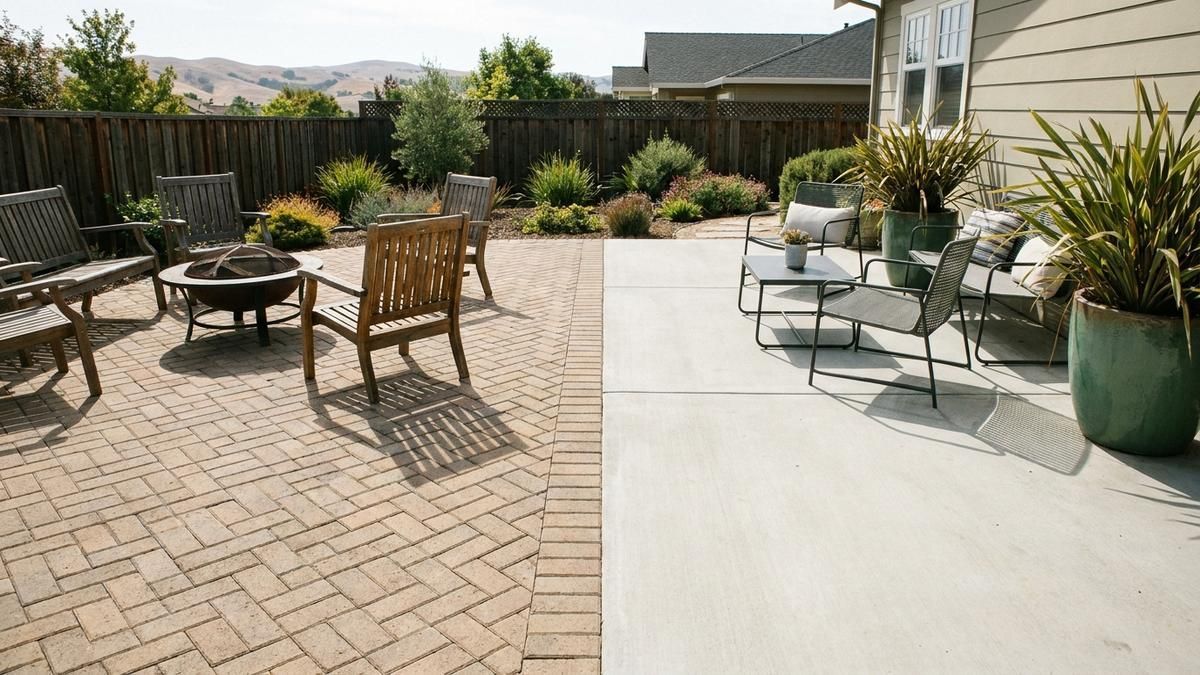
Compare pavers vs concrete costs, durability, and maintenance for East Bay patios and driveways. Get honest pricing for your Contra Costa County project.
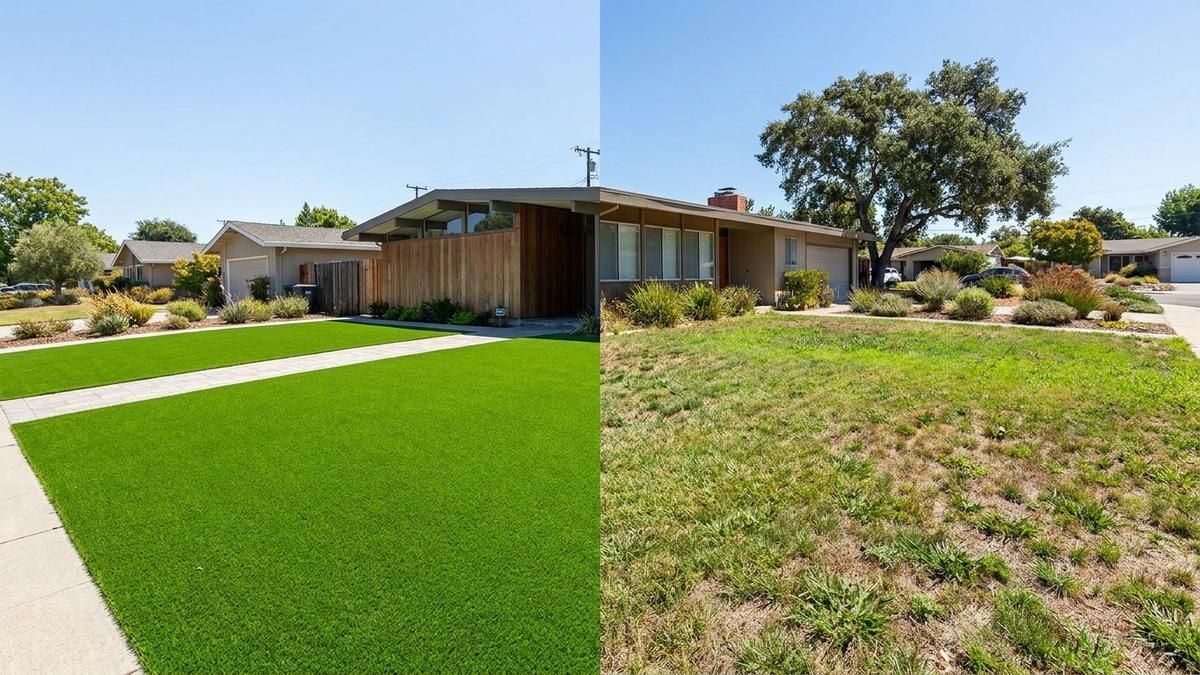
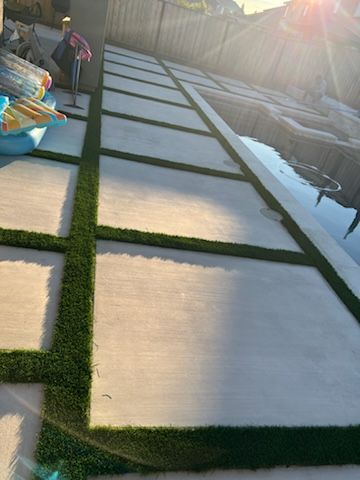
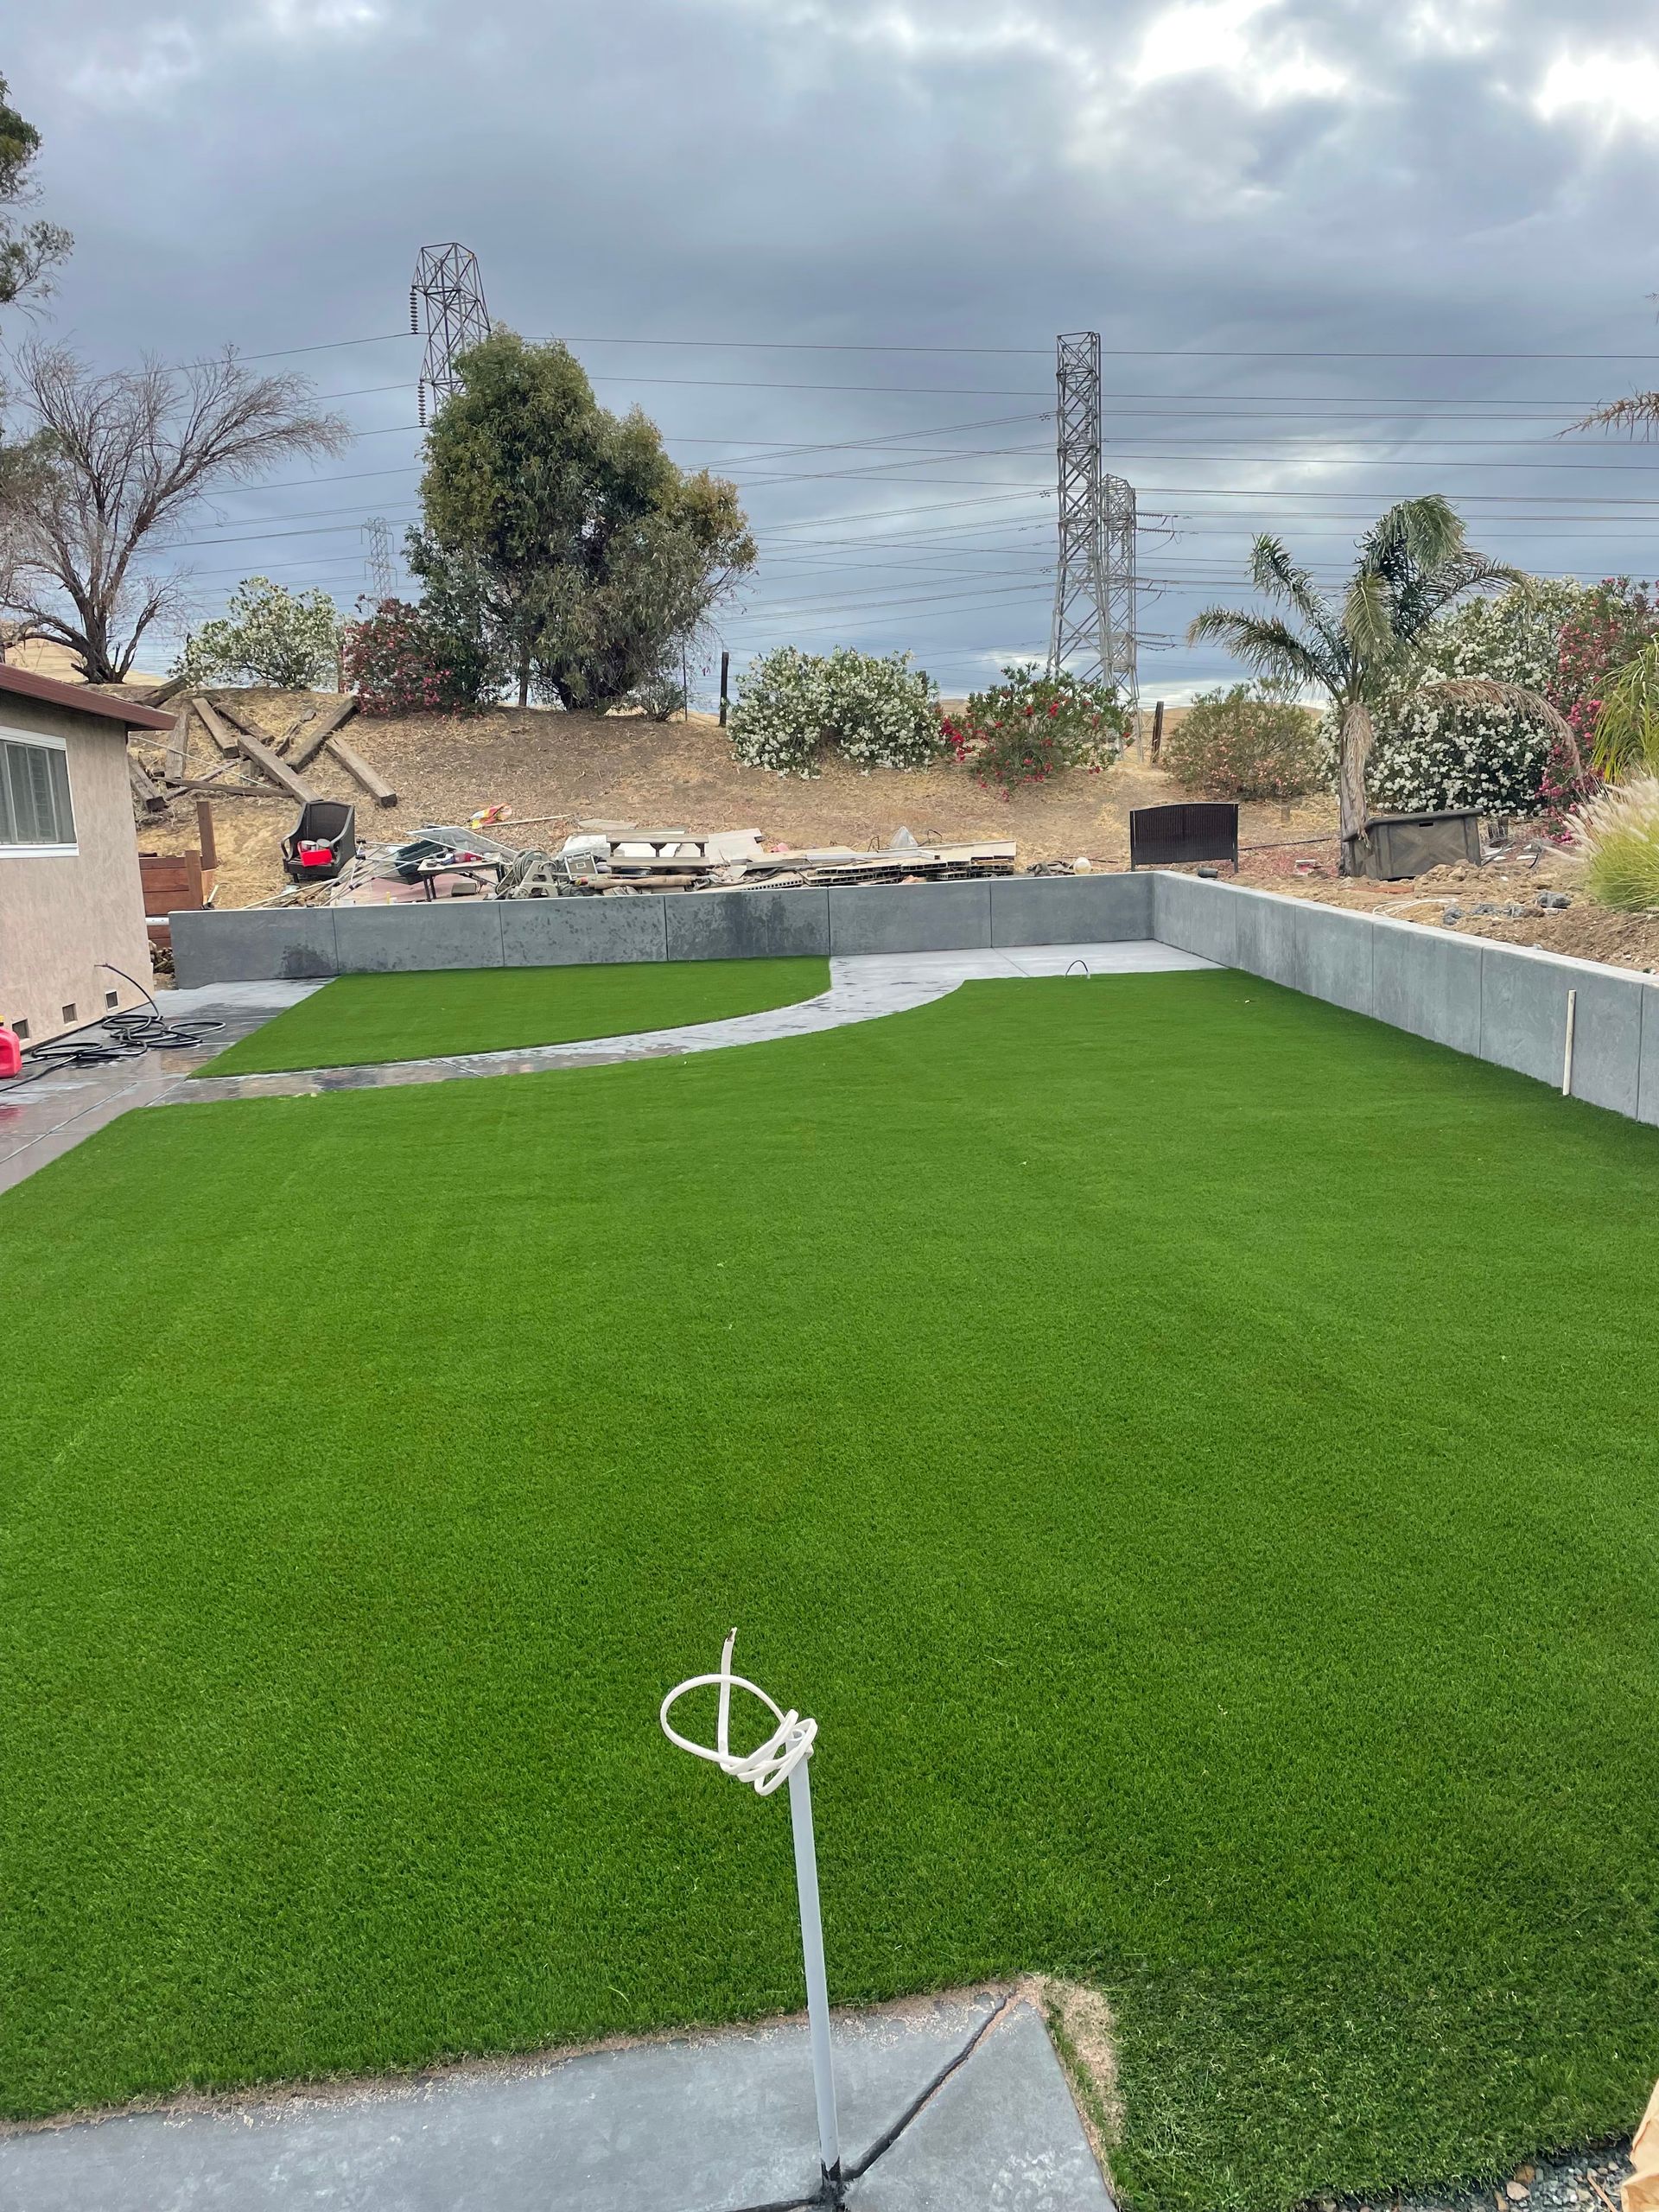
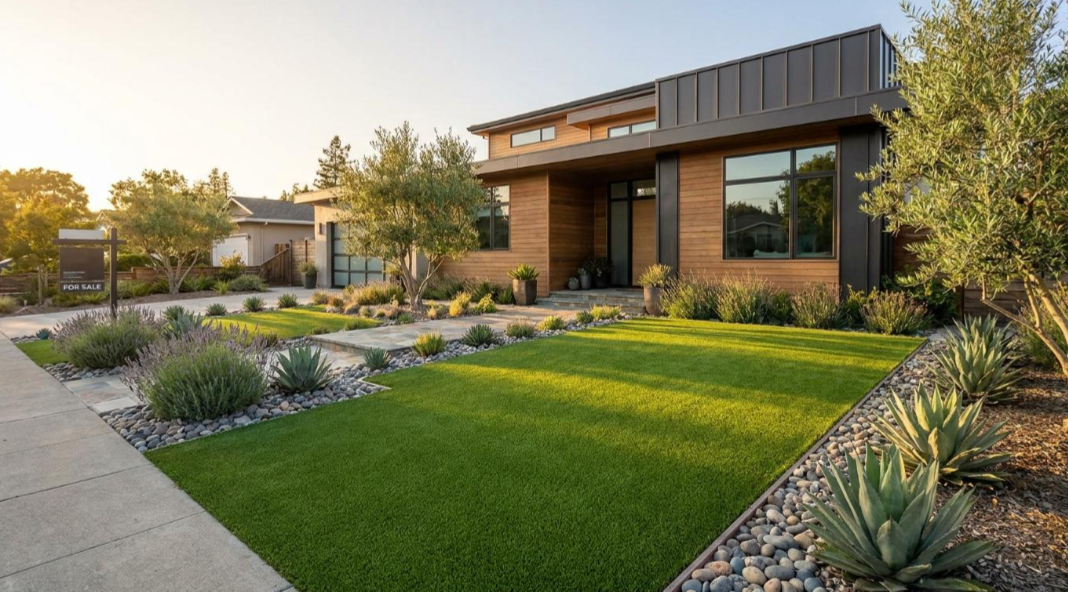
Compare artificial grass vs real grass costs, maintenance, and water savings for East Bay homeowners. Find which lawn works best in Contra Costa County.
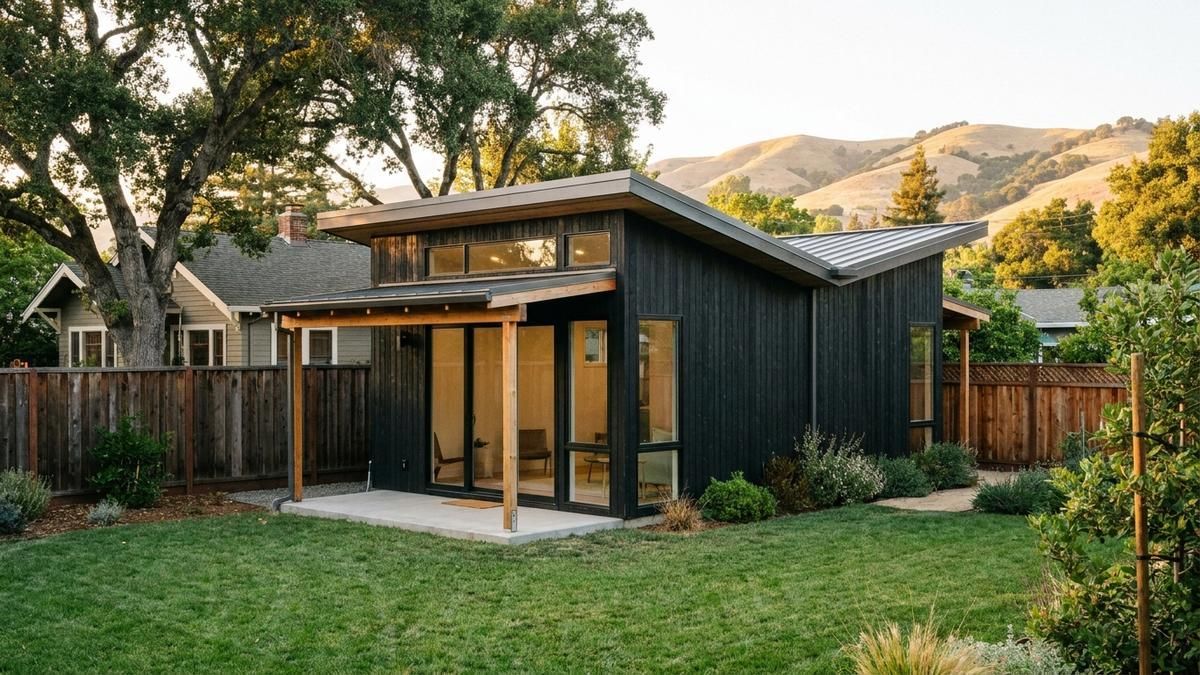
Compare ADU vs addition costs, rental income, and permits for East Bay homeowners. See which option adds more value in Contra Costa County.
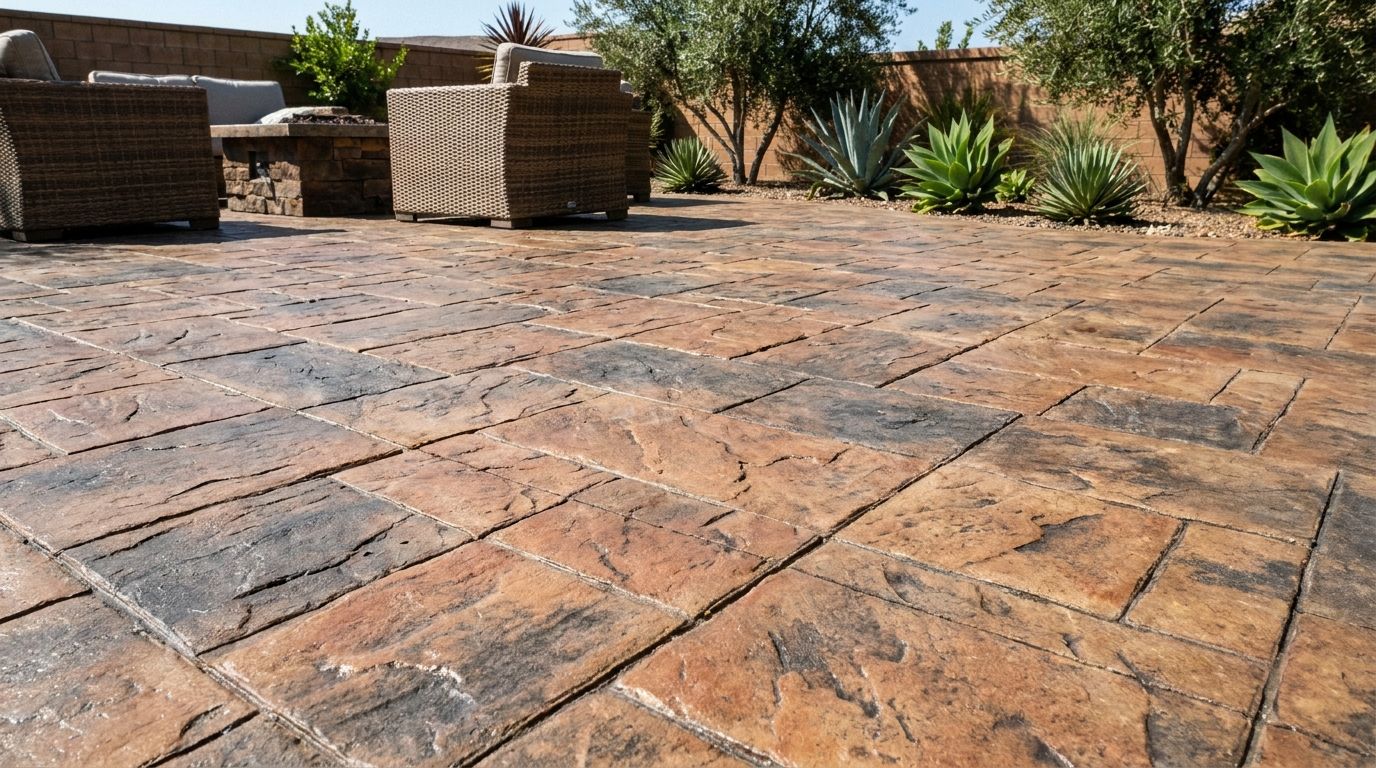
Stamped concrete patio costs range from $12 to $26 per square foot in the Bay Area. See pricing by pattern, size, and what affects your total cost.
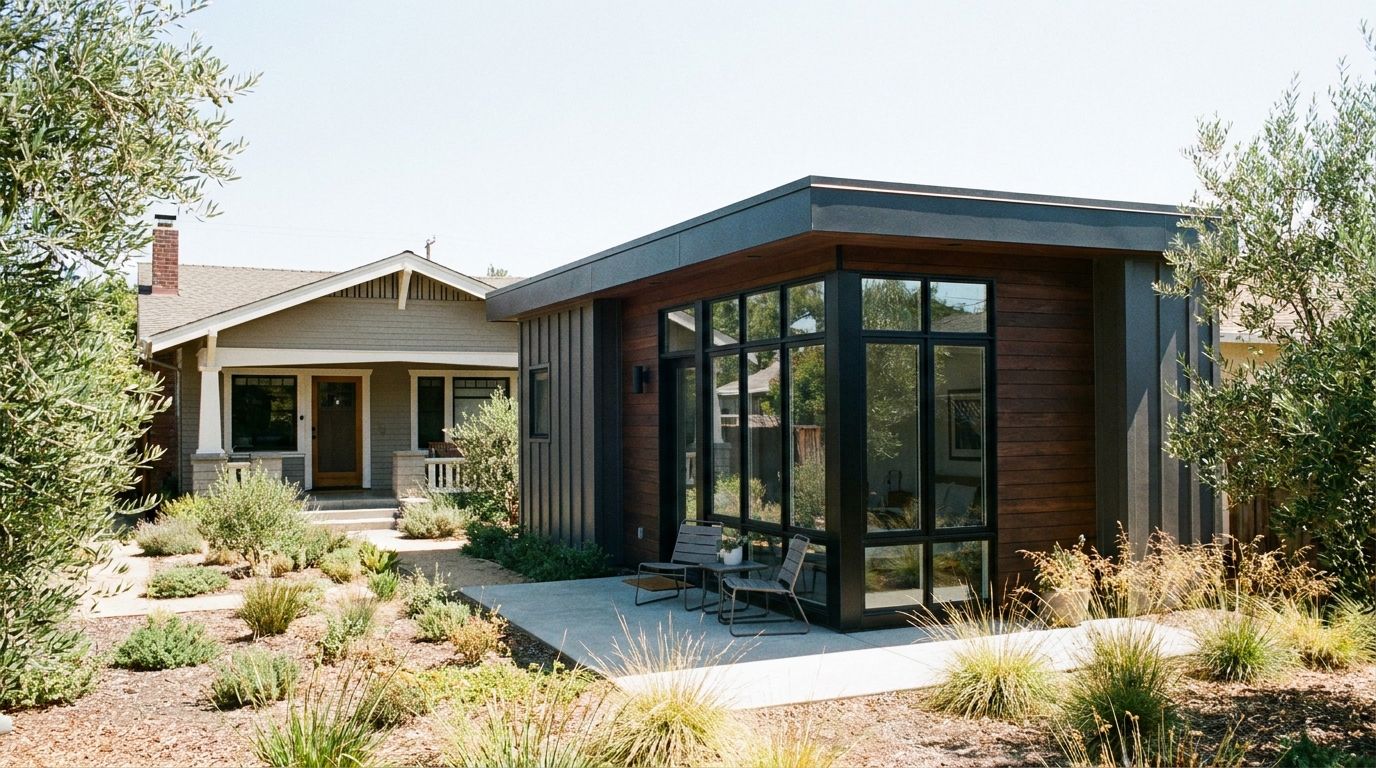
ADU construction in the Bay Area costs $100,000 to $500,000, depending on type. See cost breakdowns for garage conversions, attached, and detached ADUs.
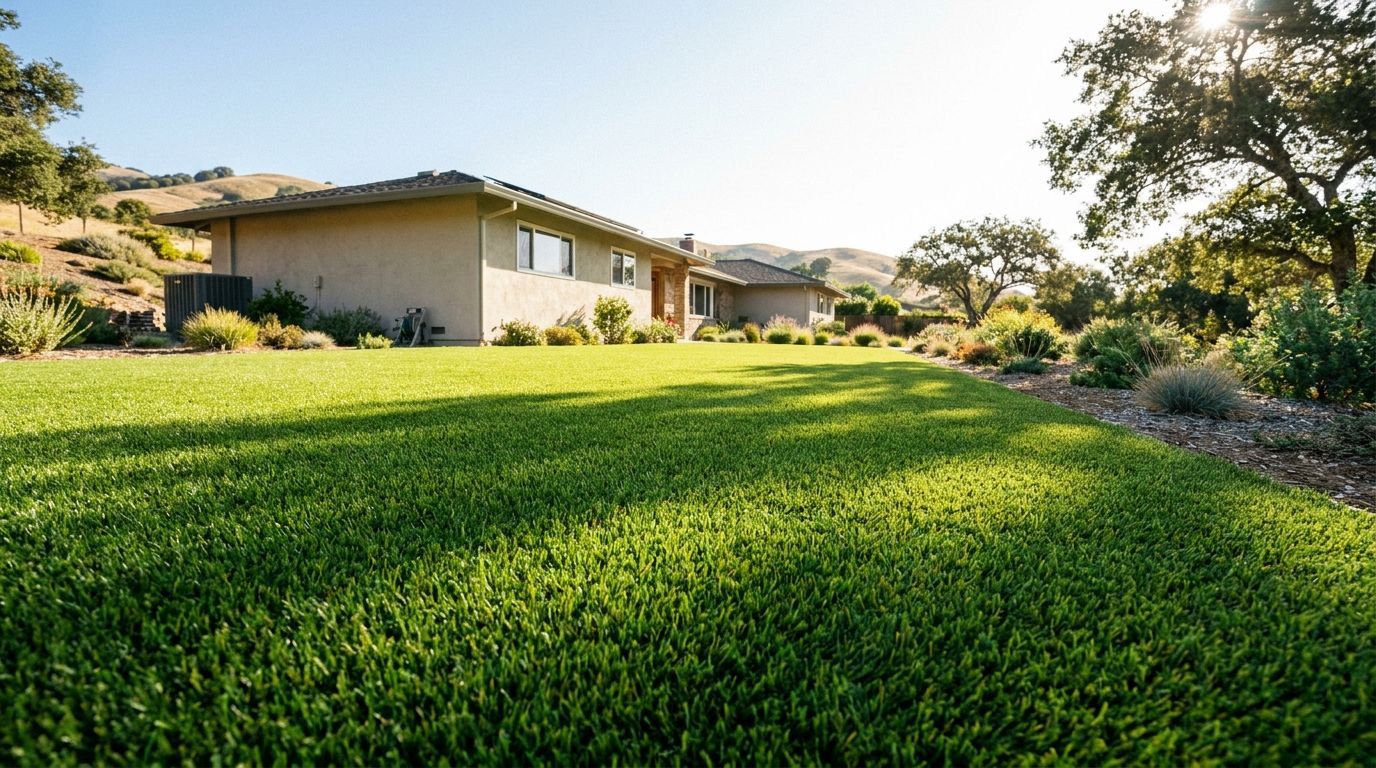
Artificial grass lasts 15 to 25 years with proper installation and care. Learn what affects its lifespan and how to maintain synthetic turf in the Bay Area.
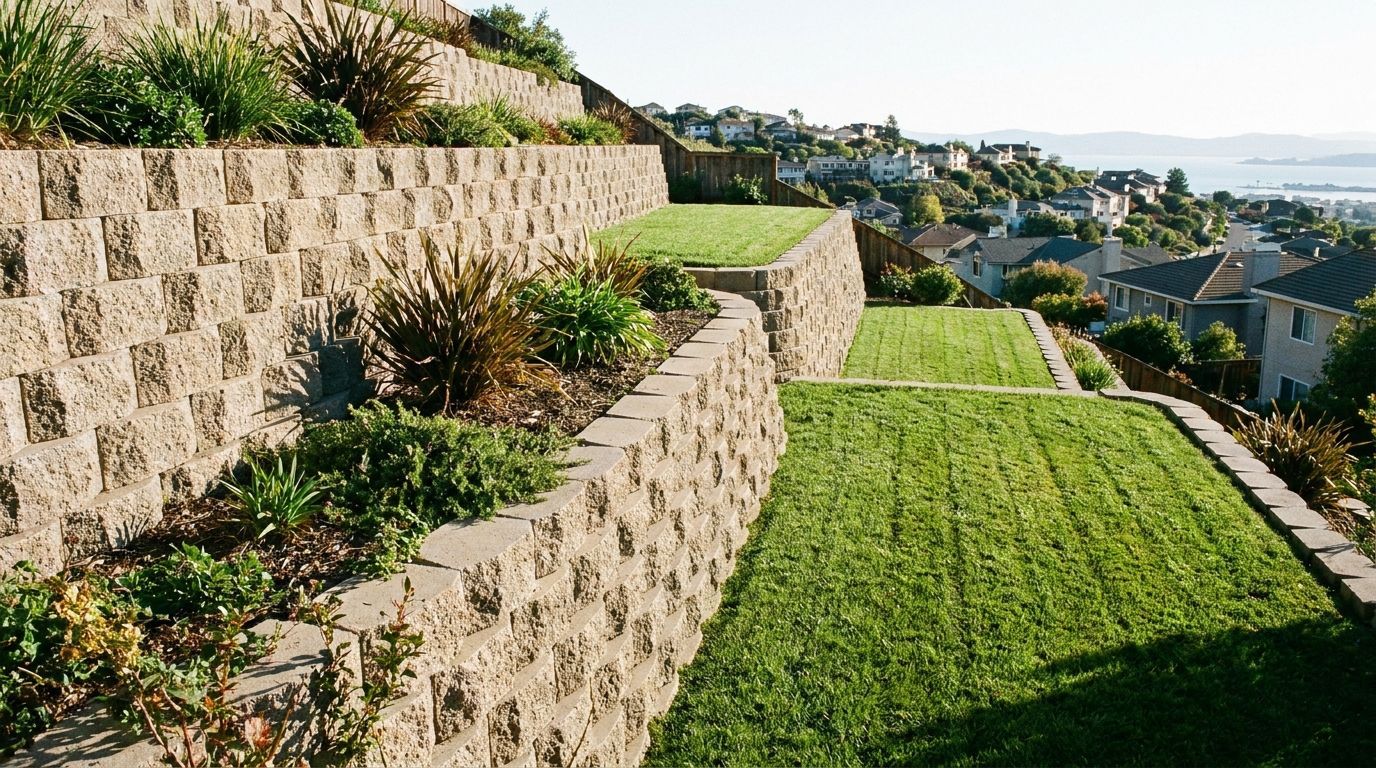
Discover 25 retaining wall ideas for sloped Bay Area yards, including concrete, stone, timber, and terraced designs courtesy of Elite Development Builders.

Explore 15 concrete patio ideas for East Bay backyards. From broom finish to stamped patterns to multi-level designs, find styles that fit your yard.
Weigh the real pros and cons of artificial turf for East Bay homes. Consider water savings, heat, costs, and maintenance as explained by local installers.
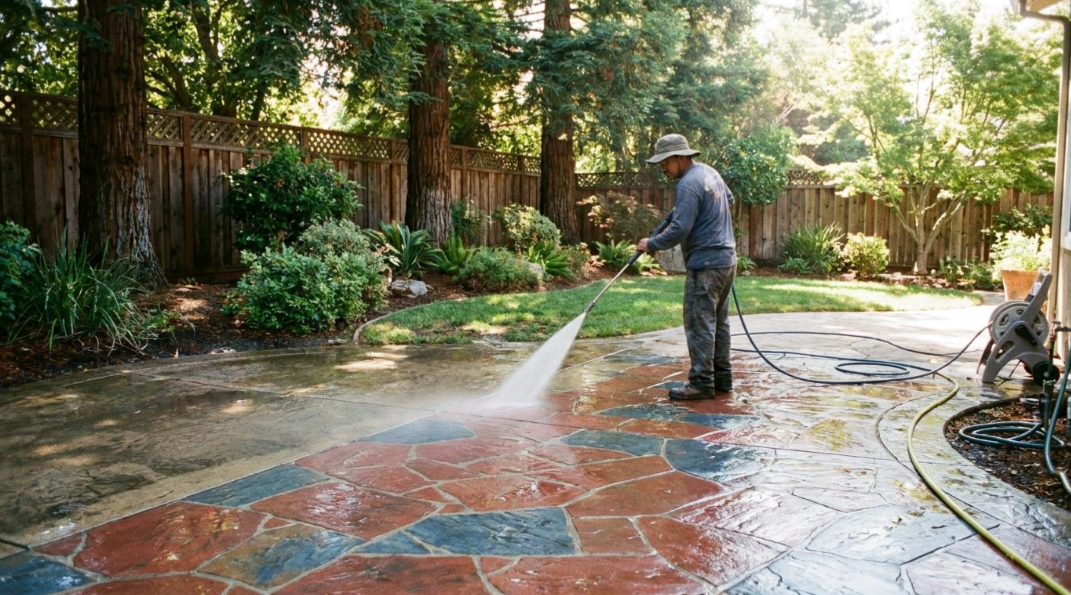
Compare stamped concrete and pavers in terms of cost, durability, and maintenance. Get an honest breakdown for East Bay homeowners from local contractors.